
Dahlia Delight: End of Season Care and Preparation for Summer!
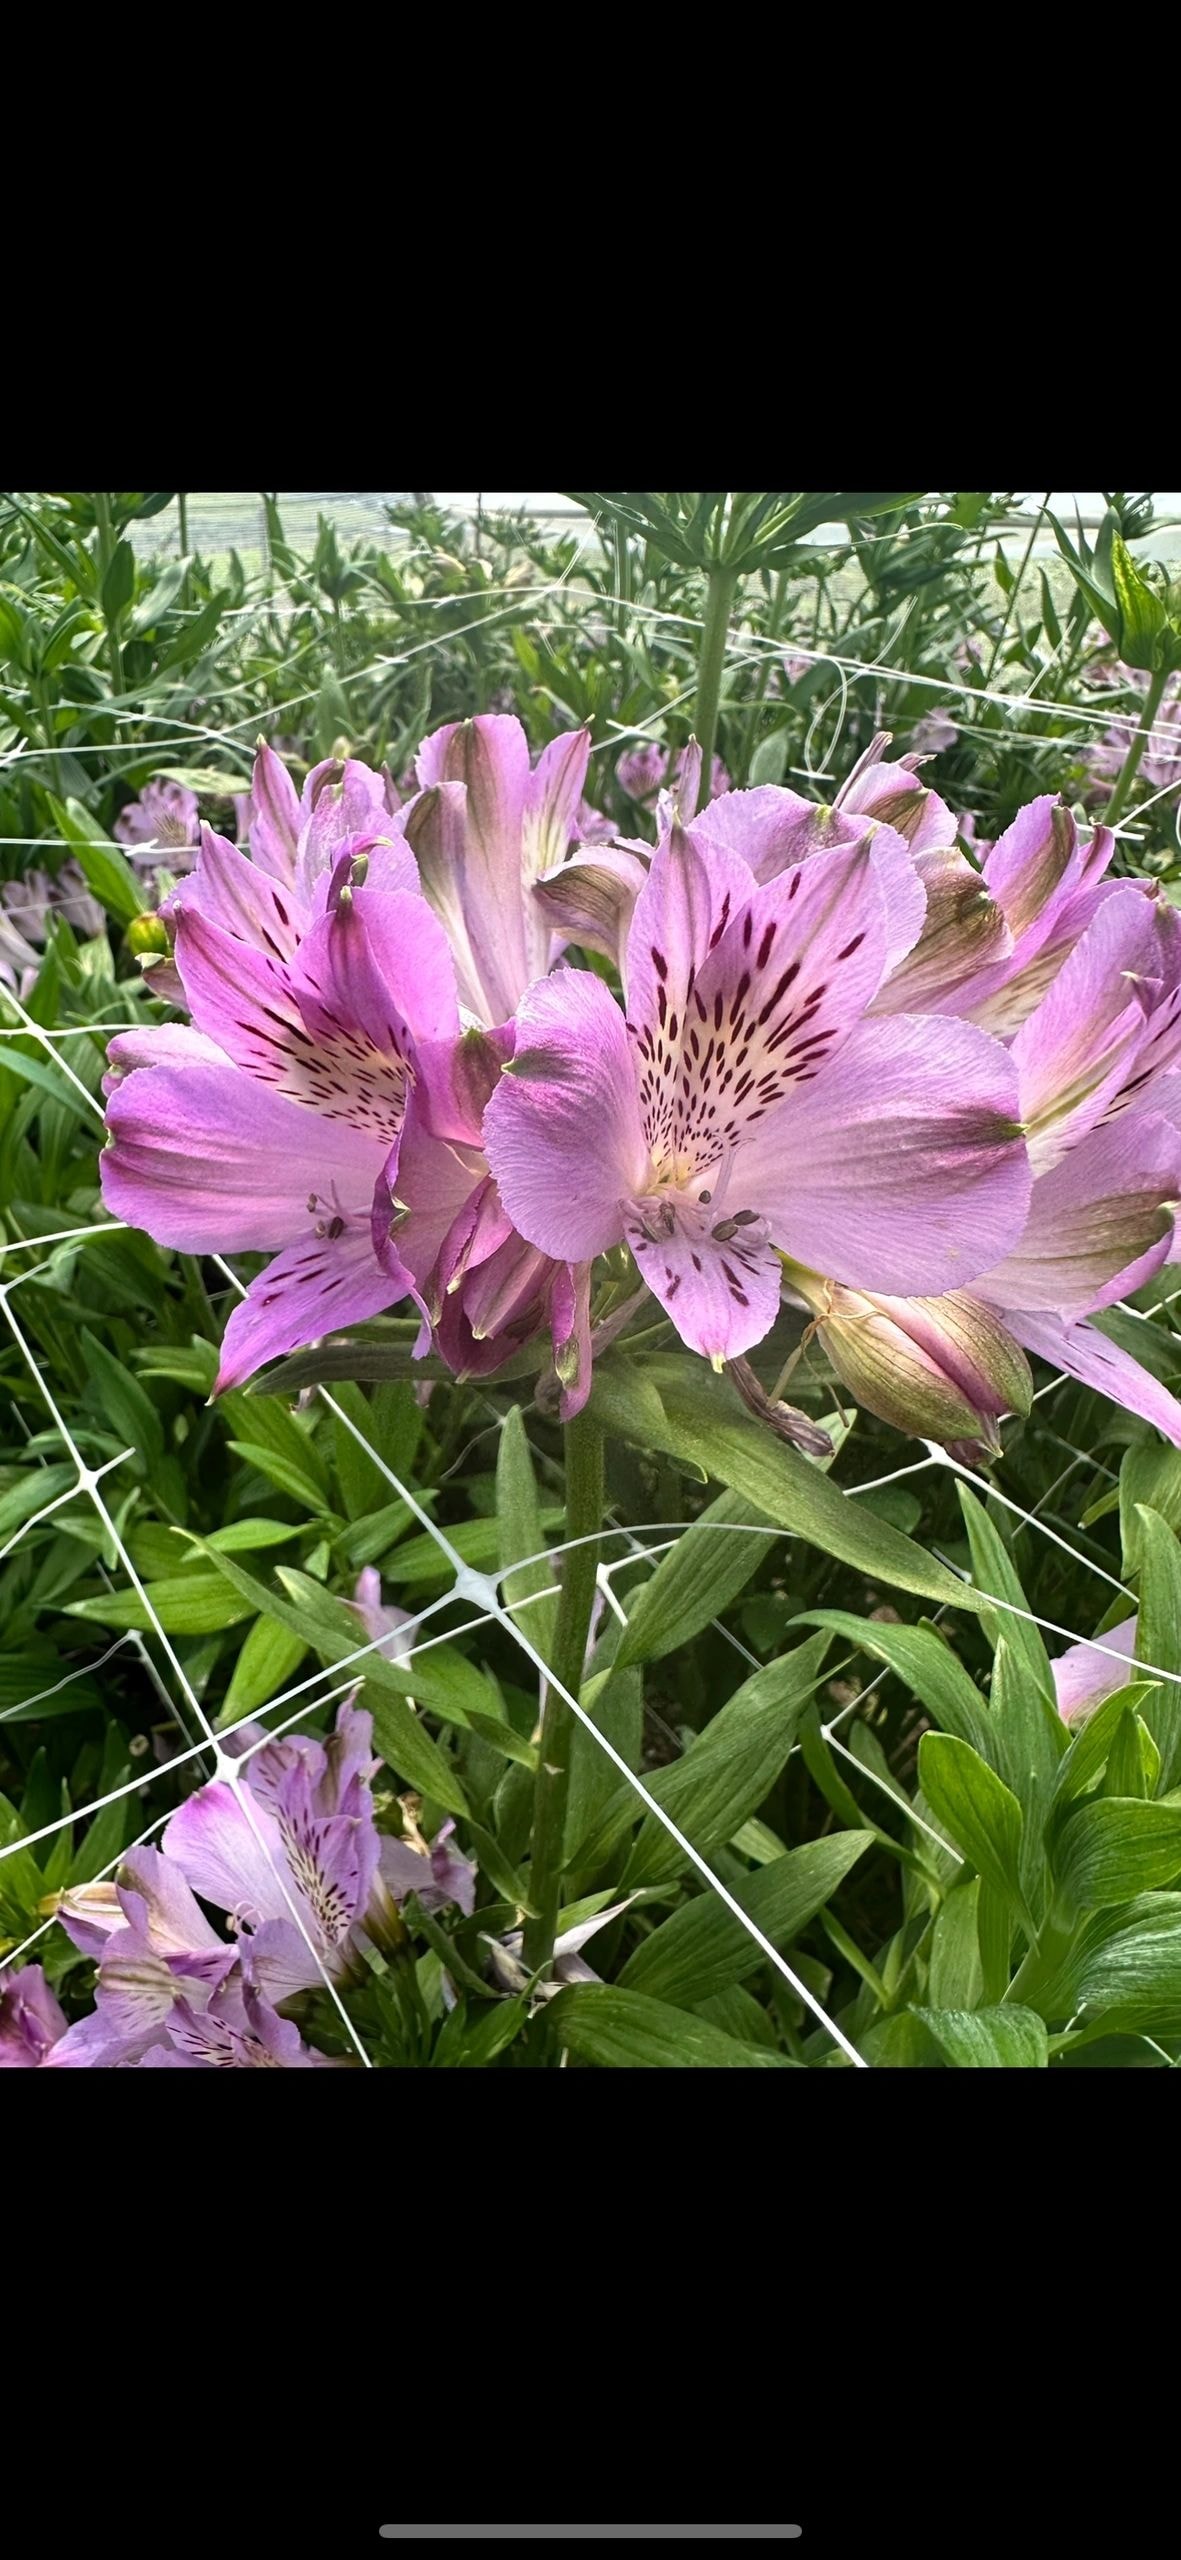
As the dahlia season comes to an end, it's time to start thinking about how to ensure a vibrant display of these stunning flowers next year. With the cold weather approaching, it's essential to take steps to protect your dahlias from the winter elements. Here's a comprehensive guide on uprooting, saving seeds, storing tubers, and preparing for spring planting.
Autumn/Winter: Saving Dahlia Seeds
Before uprooting, consider saving seeds from your dahlias to grow and breed new plants next year as each seed saved is a new dahlia never discovered before.
- 1Choose the Best Flowers: Select healthy, mature flowers to collect seeds from.
- 2Allow Seeds to Mature: Let the flowers fade and dry on the plant. The seed pods will form at the base of the petals. The seeds are the little black pods inside the dried petal.
- 3Harvest the Seeds: Once the pods are dry, cut them from the plant and gently break them open to extract the seeds.
- 4Dry the Seeds: Spread the seeds on a paper towel and let them dry completely.
- 5Store the Seeds: Place the dried seeds in a labeled envelope or container and store them in a cool, dry place. Be careful not to store seeds in plastic packets as this may encourage rot due to precipitation build up. Please ensure your seeds are completely dried before storing them.
Uprooting Dahlia Tubers
As temperatures drop and winter rain begins, dahlias are at risk of rotting. Here in KZN we don't get winter rainfall however, the Midlands is very cold and subjective to snow and freezing temperatures therefore we play it safe and uproot our tubers.
- 1Wait for the First Frost: Allow the first frost to blacken the foliage of your dahlias. This signals that the tubers are ready for storage. If the frost is too light then wait until the foliage is blackened from the next frost.
- 2Cut Back the Stems: Trim the stems to about 6 inches above the ground. If you are worried you will get your tubers confused then use floral tape and label the tubers by tying the label tightly to the remaining stem.
- 3Lift the Tubers Carefully: Use a garden fork to gently lift the tubers out of the soil, taking care not to damage them.
Storing Dahlia Tubers
Proper storage of dahlia tubers is crucial to ensure they survive the winter. Take note and follow these steps:
- 1Clean the Tubers: Brush off excess soil and remove any damaged or rotten parts. You can do this with a scrubbing brush and some water.
- 2Dry the Tubers: Lay the tubers out in a dry, airy place for a few days to cure.
- 3Pack for Storage: Place the tubers in a box/crate filled with peat moss, vermiculite, or sawdust. Ensure they are not touching each other. We tried all of the above storage mediums and found they all worked well and if anything, we preferred sawdust the most.
- 4Store in a Cool, Dark Place: Keep the box in a cool (40–50°F), dark, and dry area, such as a basement or garage.
Spring Time: Dividing Tubers in Spring
When spring arrives, it's time to prepare your dahlia tubers for planting. Here's how to divide and plant them:
- 1Inspect the Tubers: Check for any signs of rot or damage and discard any affected tubers.
- 2Divide the Clumps: Using a sharp, clean knife, divide the clump of tubers, making sure each division has at least one "eye" (the growth point). We also used strong secateurs to get a clean cut.
- 3Prepare the Soil: Choose a sunny location with good drainage soil. Add compost or organic matter to enrich the soil. Dig a hole deep enough for the tuber to be planted and covered completely by soil. We also put bone meal in each hole with the tuber.
- 4Plant the Tubers: Plant the tubers about 6 inches deep with the "eye" facing up, spacing them 18–24 inches apart.
- 5Water and Mulch: Water the newly planted tubers thoroughly and apply a layer of mulch to retain moisture and suppress weeds. Don't overwater after planting as you could cause rotting. Give a good soak straight after planting and then wait until you see the first set of shoots/leaves, then you may continue irrigating your plants.
- 6Support: Before they get too big you need to either stake them or use support netting as dahlias get tall and very heavy.
- 7Nutrition: Feed your plants weekly and water regularly. We use a mix of 3-1-5 as well as Trichoderma. Watch out for cutworms and snails as they LOVE dahlias. In peak summer you may see powdery mildew — ensure you treat this before it takes over. Bicarb mixed in water and sprayed regularly on the plant is a great aid in combating mildew.
Planting Dahlia Seeds in Trays / Breeding Dahlias
To get a head start on the growing season, plant your dahlia seeds indoors:
- 1Fill Trays with Seed Starting Mix: Use a high-quality seed starting mix in trays or small pots.
- 2Sow the Seeds: Plant the seeds about ¼ inch deep, and cover lightly with soil.
- 3Water Gently: Moisten the soil using a spray bottle to avoid displacing the seeds.
- 4Provide Light: Place the trays in a sunny window or under grow lights.
- 5Transplant Outdoors: Once the seedlings are about 4–6 inches tall and the danger of frost has passed, transplant them into your garden.
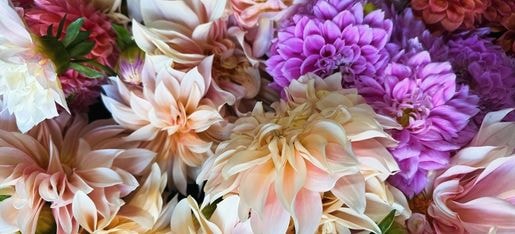
By following these steps, you can ensure that your dahlias remain healthy through the winter and are ready to bloom beautifully in the next season. Happy gardening fellow flower friends!